Twitch and YouTube Gaming are being targeted by Facebook Gaming. The fight for the top streaming platform continues, and while Amazon’s Twitch remains the service to beat, Facebook Gaming has dramatically improved its chances of success by capitalising on Microsoft’s Mixer’s closure.
Nevertheless, the social media giant has invested heavily in its live-streaming service, even without its alliance with Mixer, and it has seen tremendous growth. For the first time, more people than ever are trying their hand at streaming their favourite sports, and with the massive audience of Facebook, it has all the means to climb up the ranks.
Then there’s never been a great time to get on board with live-streaming. And, luckily for you, with our detailed guide, we’ll show you exactly how to live-stream on Facebook Gaming. You won’t need to search anywhere else for all the key details you need, from building a gaming page to selecting the correct bitrate settings. Let’s get started. We’re going to get started.
Create a gaming page
While it’s possible that you already have a Facebook account (the social networking site has 2.6 billion monthly users), it’s vital to build a dedicated gaming page to attract the right audience.
To begin, go to the ‘Create a Gaming Video Creator Page’ and give your page a name. Adjust nothing about the ‘Class,’ as it is this that grants you access to Facebook Gaming’s audience and algorithms. Continue after you’ve given your page a name.
Now, from a Facebook page, you can make the normal changes you have come to expect, including updating your profile and cover photo, adding a summary, and updating any other information you want to tweak.
Broadcasting Software
You’ll need to download one of the many free streaming software programmes that are available, such as Streamlabs OBS, OBS Studio, or Xsplit, if you plan on streaming your gameplay to Facebook. Here, there is no right or wrong option: just choose the programme that you like best, as they all operate the same way.
We’ll use Streamlabs OBS to go live on Facebook Gaming in this example. To begin, go to the Streamlabs website and download and instal the software, then let the programme analyse your internet speed and computer hardware to decide the best performance settings for you.
Alternatively, you can manually customise your settings by going to the bottom left-hand corner and pressing ‘Settings,’ then ‘Output,’ and choosing your encoder. Either NVENC or NVENC New (if you have an Nvidia GeForce graphics card) or x264, which depends on your CPU, are the two options you should consider.
For Facebook Gaming, you then need to decide the best bitrate. The general rule is to measure your total upload speed by subtracting 20% from your upload speed. Facebook, on the other hand, strongly suggests using a bitrate of 4000Kbps, which should be adequate for most connections.
The keyframe interval comes next. Set this to 2 for optimum quality, and select an output value of 720p (1280 x 720) at 30fps in the ‘Video’ side panel. Facebook does allow streams of higher quality, but to reach 1080p (1920 x 180) at 60fps, you must be part of Facebook’s Level Up creator programme.
Setup Your Stream
If you want to make your stream more enticing to viewers, if you have one, you may need to incorporate those items, such as a webcam, voice over and an overlay. Start by clicking the plus sign near the bottom left-hand corner to create a new scene. You’re ready to begin when you give your scene a name and click Done.
We’ll need to add some sources to bring your stream to life. Add your gameplay footage using Game Capture, Window Capture, or Monitor Capture by clicking the plus sign in the bottom middle menu called ‘Sources.’ Although the decision is entirely yours, we recommend Game Capture as the least hardware intensive of the three choices.
It’s time to introduce your camera to the scene until your gameplay is visible. Once again, in the ‘Sources’ menu, click on the plus sign and click on’ Video Capture System ‘, pick your camera and voila, you can see yourself on the screen. You can switch your webcam around as much as you want, so find a spot that works for you and doesn’t block too much details. Finally, be certain that the audience can hear you. It is basically the same procedure to add a microphone: just go to ‘Sources > Audio Capture Input’ and pick your microphone.
Going live
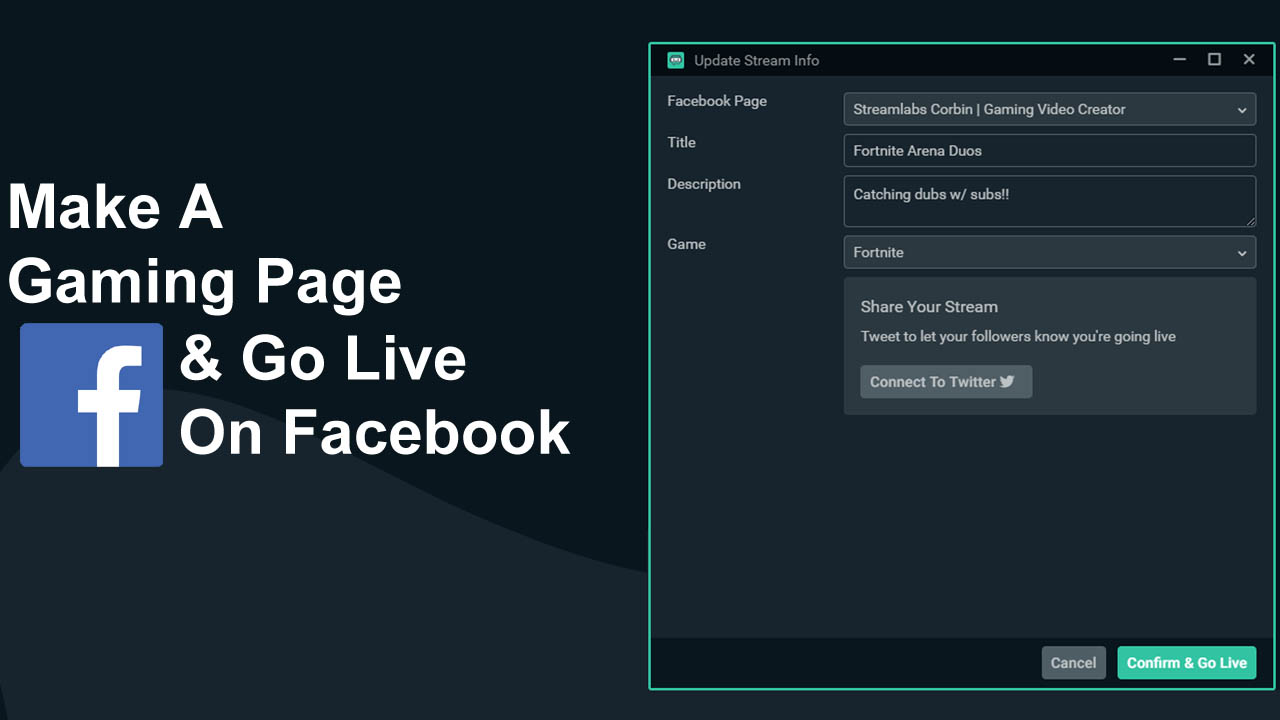
Click ‘Live’ from your Facebook Gaming page, located in the Build bar at the top of the feed. This will take you to a new page named “Live Producer.” From here, you will have to copy and paste your Stream key into your broadcasting app. Simply go to ‘Settings > Stream’ and paste the code that says ‘Stream key’ into it.
Head over to the menu on the left-hand side once that’s done and create a title for your film. Your title should pique the interest of any viewers who happen upon your stream, and you should also tag the game you’re playing. Of course, you don’t have to, but you can expect a lot fewer views if you don’t. You may also provide a thumbnail picture for your video and create polls and questions for your viewers to engage in. After that is done, go live in your streaming app, which will show a preview of your stream as well as check the health of your stream. When you’re pleased with how it looks, go live on the Live Producer page by clicking the ‘Go Live’ button.
Monitoring Your Stream
The Creator Studio is full of vital data that you might have got, such as your total subscribers, stream data, stream health, and recent comments. You’ll want to keep it open during your broadcast because it’s a perfect way to keep track of all that’s going on. The Creator Studio offers a comprehensive rundown of all the analytical data you might expect when your stream is over, which can help you boost your streams in the future.
And all that there is to it is that. We hope our Facebook Gaming guide on how to stream has given you all the tips and tricks you need to broadcast to the world yourself. If you want to enhance your streaming and listening experience, don’t forget to check out the best available webcams and USB microphones.
Humbly Request To All Visitors!
If you found above both downloading link expired or broken then please must inform admin by fill this Contact Us! Form